How to add push notification to WordPress site for free.
Hello friends, welcome back; are you thinking about the best way to get more subscribers to your blog?? Then this blog post is for you. In this blog post, I am gonna show you the easiest steps on how to add push notification to WordPress site for free
Every blogger wants people’s attention to the content which they have written on their blog & it is quite difficult to bring back the visitors to your blog who have already visited your blog, even if your content is attractive.
it has been said that 70% of the people who leave your website don’t come back to the website & means the engagement is very less, for that You need to find a way so that visitors can come back to your blog again as soon as you publish new content on your blog. So is there any solution?? Yes! There is a solution that I have shared in this blog post
There are lots of other ways to get subscribers to your blog like through email marketing, subscriber widgets or plugins, and a lot more, but using these all methods there are very less chances that people will subscribe to your blog. That’s why you must use push notifications in your blog & which will increase engagement to your blog.
So before we get started, first let’s see what exactly push notification means & why you should add it to your blog.
If you will stick with this blog post for the next 10-15 minutes then you will be able to learn the below points
- What is push notification??
- Why you should add push notification to your blog
- How to add push notification to your blog step-by-step
- How to send your first push notification to your subscribers.
- Drawback of using push notification
- More push notification services
What is push notification??
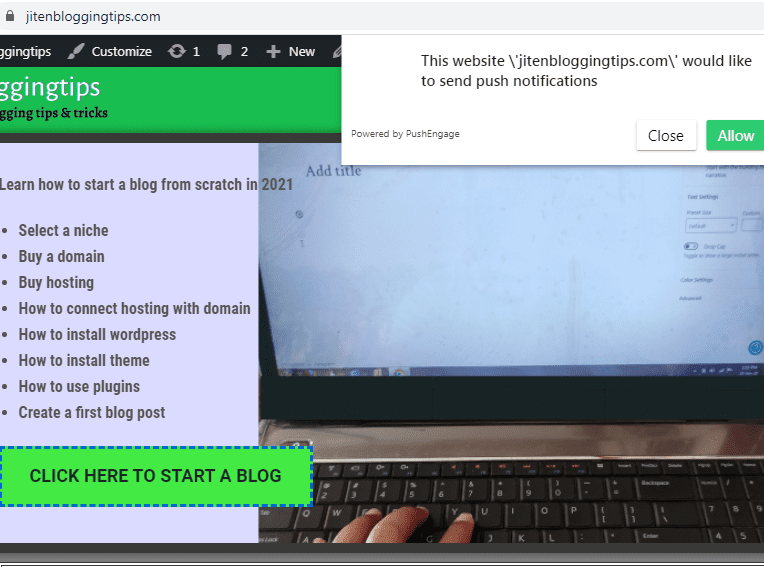
When you visit any blog or website on the internet you must have seen a popup on that blog or website saying that we would like to send you a push notification or any other message it may be & you may also have to click on yes or allow, when you click on yes or allow that means you are added to their push notification list & that means you now become a subscriber on that blog or website. Like this way the push notification works.
below is an example of web push notifications.
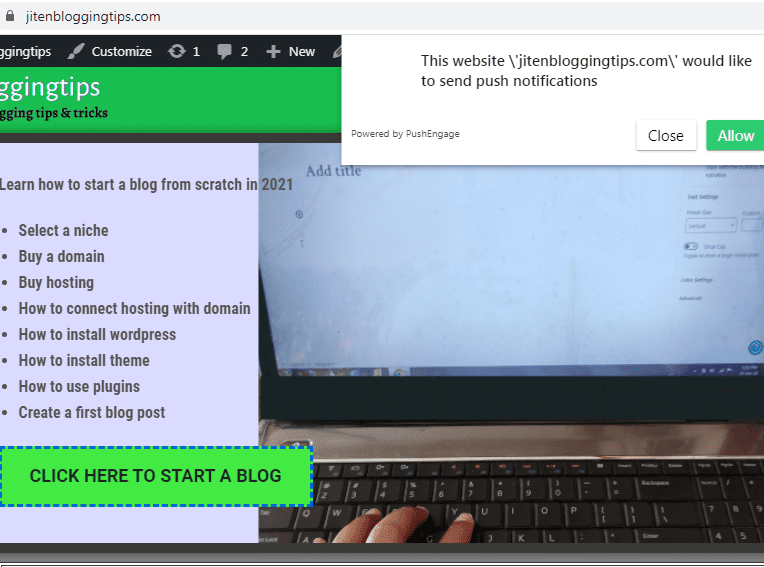
In very simple words push notification means a popup with a message on your screen which asks visitors on the website or blog to become a subscriber.
The good thing about push notification is that you can send push notifications to your subscribers any time & whenever you create a new blog post or want to tell your subscriber of any new updates on your blog or website then you can use push notification.
You can also set an automatic push notification; means when you publish a new blog post then your subscriber will get an automatic push notification on their browser even if they are not on your blog or website & I think this is the best way to increase more engagement on your blog isn’t it??
Why you should add push notification to your blog
Adding push notification on your blog will help you to get more subscribers to your blog & engagement on your blog can become double.
It has been noticed that open rates are high & there is more engagement on blog by using push notifications.
Email marketing is also a good way to get subscriber but it has been found that push notification is more effective & it will increase more engagement on your blog. A push notification will help you to bring back the visitors on your blog who have already visited your site.
This is really an amazing way to get more subscribers to your blog & more engagement on your blog.
So without any more add-ons, let’s dive into our main topic that is how to add push notification to your WordPress blog.
How to add push notification to WordPress blog step-by-step
For this tutorial, we are going to use push engage & the good thing is that they have a free plan also which is good enough for beginners.
Just follow the below-given steps
Step1) Go to pushengage website
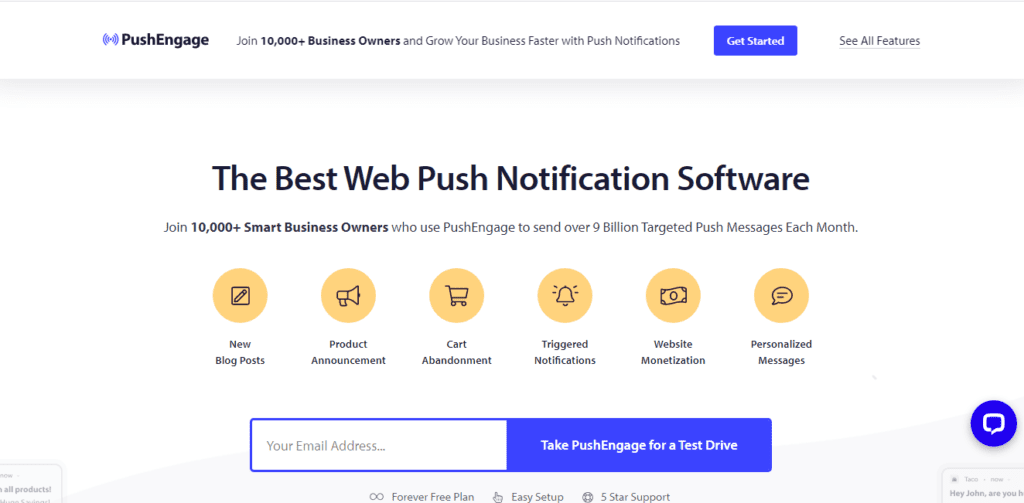
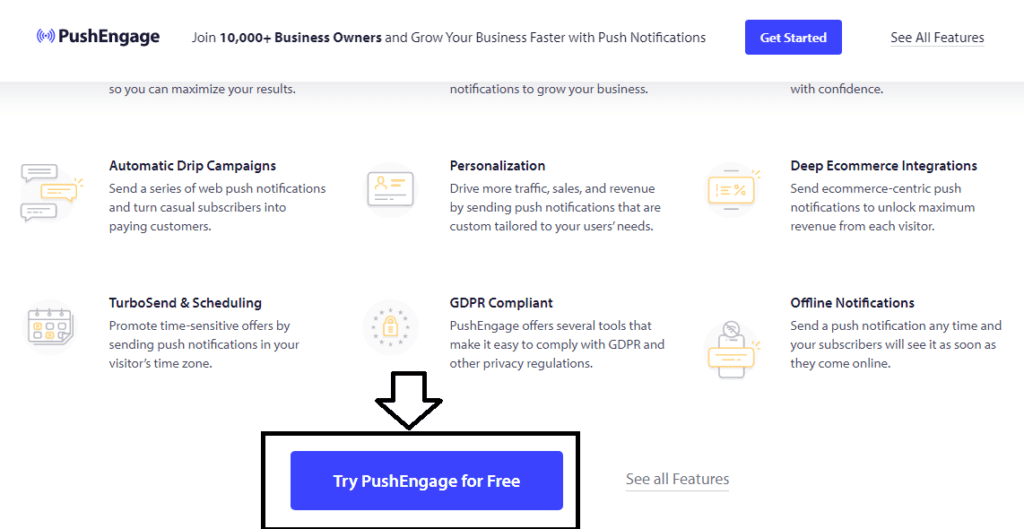
Step2) you need to just scroll & click on try push engage for free as shown above.
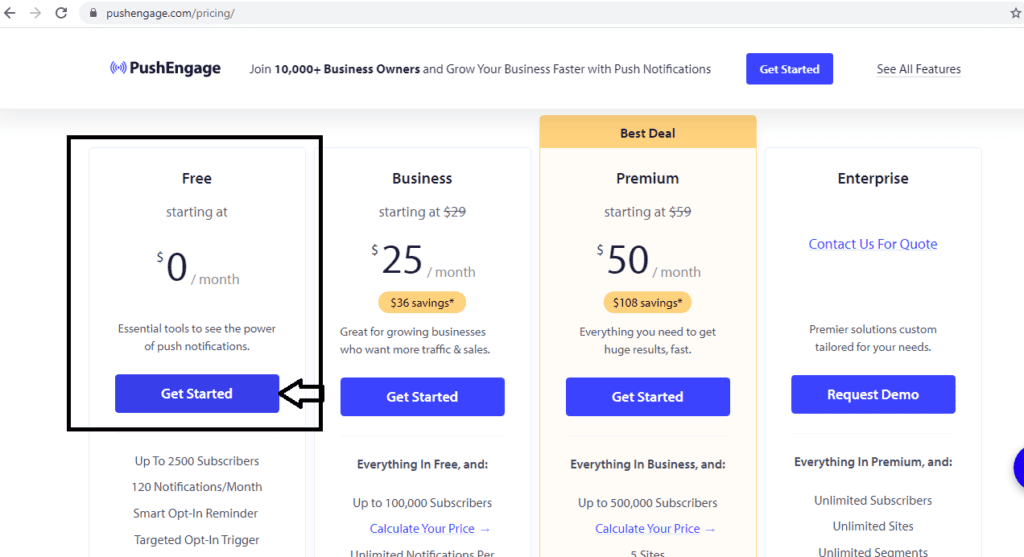
Step3) just select a plan according to your requirement, if you are a beginner then you can go with a free plan & in the free plan you get up to 2500 subscribers, 120 push notifications per month.
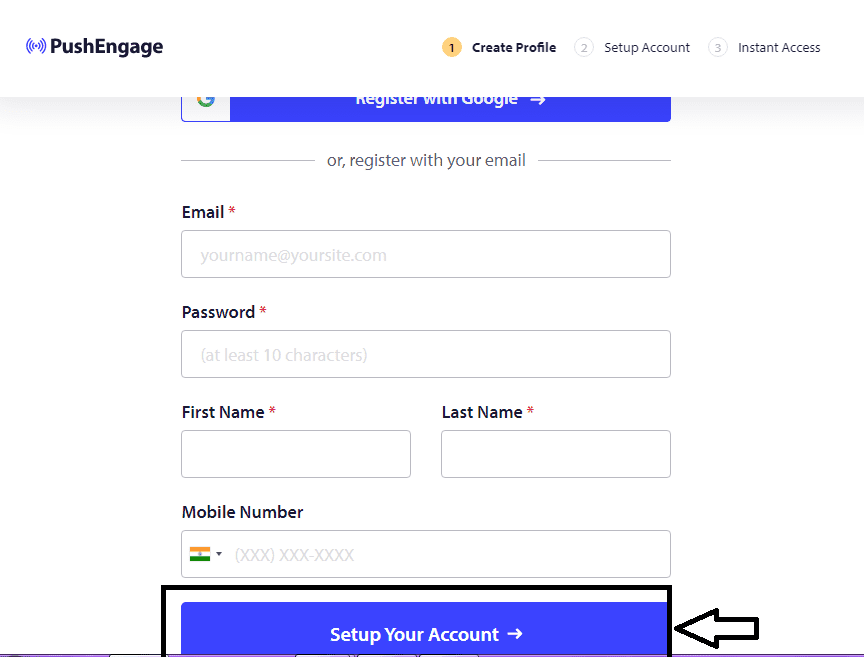
Step4) you need to create an account for that you can sign up using your Google account or just fill in your basic information like email, password, first name, last name, phone no & just click on setup your account.
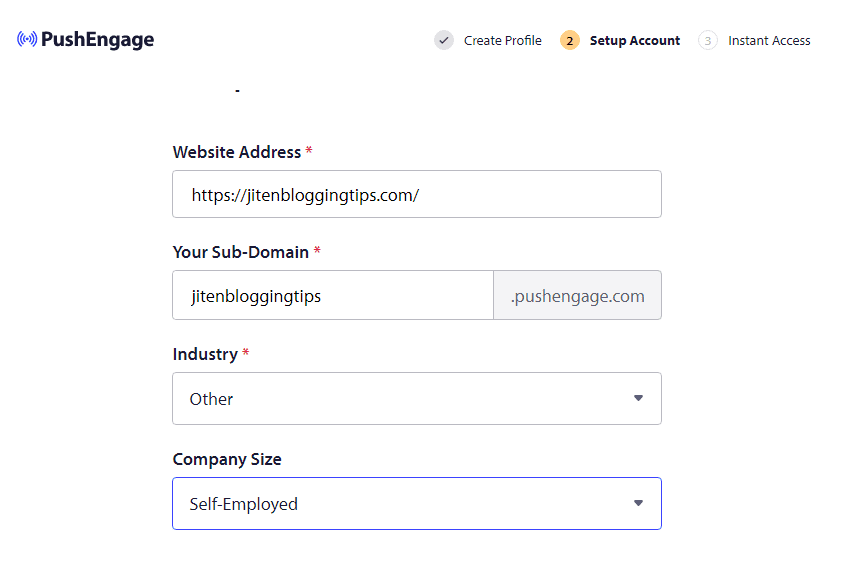
Step5) next step is to enter your site name, site URL & subdomain, etc.
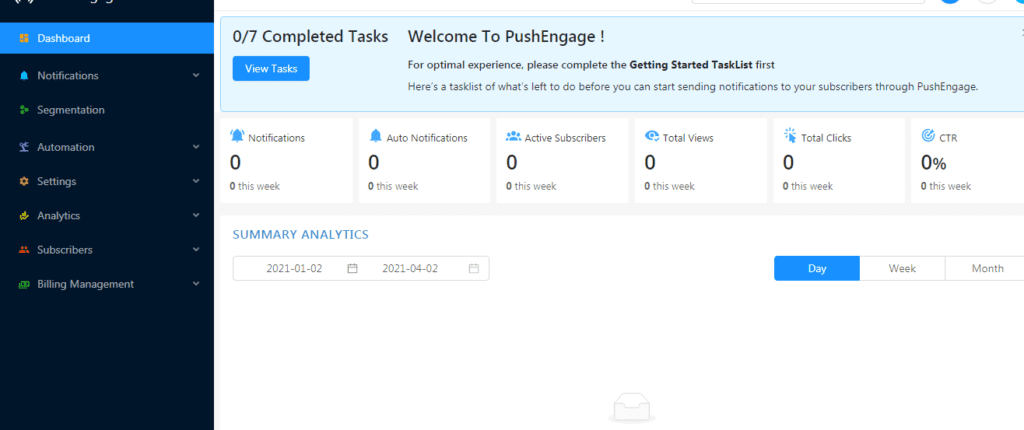
Note: you may be asked to enter your card details also & you can put it but they will not charge any amount as you are on the free plan. After that, you just need to click on create an account & you will be then redirected to push engage dashboard as shown below.
below is the push engage dashboard
How to connect push engage to your WordPress website
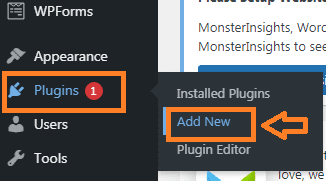
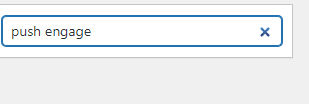
Now you need to go to the WordPress dashboard & need to install the push engage plugin. Just go to plugins section>add new>search for push engage & click on install>activate.
Step6) you can see the plugin in the left section of your dashboard.
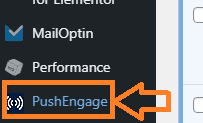
From there just click on it & click on the setup option as shown below. there you need to enter an API key for that you need to go to push engage account which you have created.
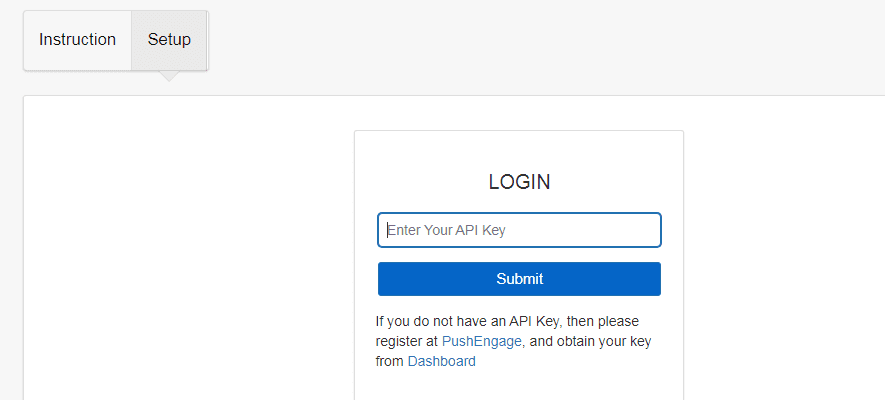
Step7) in the push engage account you need to click on settings>site settings>installations> there you will see various options & from there select WordPress. If your site is on HTTP connection then you need to create an API key for that just follow below given steps
If you do not have access to your site root folder then you can use the push engage subdomain which means yoursite.pushengage.com for that just go to step no: 9 & if you can access the root folder of your site then you just need to download the package file & then you can use your domain name instead of subdomain. Felling confused! Don’t worry just follow the below steps.
If you have HTTPS version then for that just click on HTTPS as shown below.

Step9) then download the package file & you need to extract that file. for that just click on the file & just right-click & extract the file.
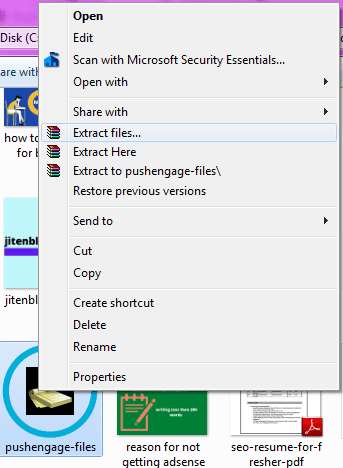
after extracting the file.

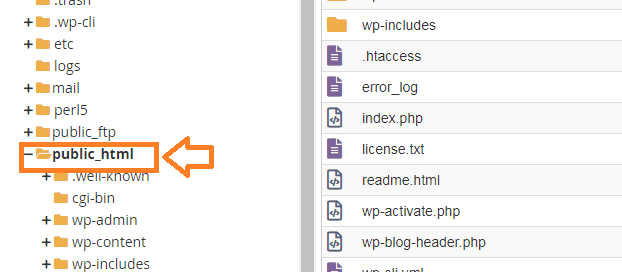
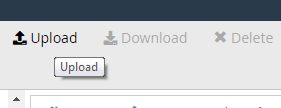
Step8) now you need to upload that file in public_html in your hosting. for that just follow below given steps
If you are using Bluehost hosting or any other hosting then you need to login to that hosting>c-panel>file manager> Go to public-Html file>In this you need to upload that file which you have downloaded.
- Go to C-panel in your hosting
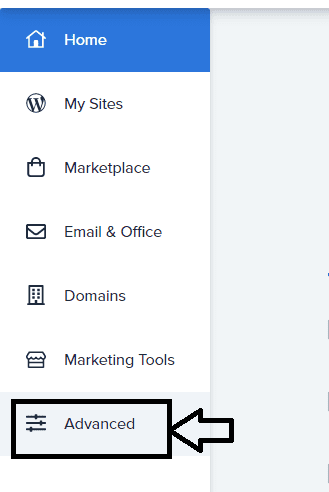
Go to file manager
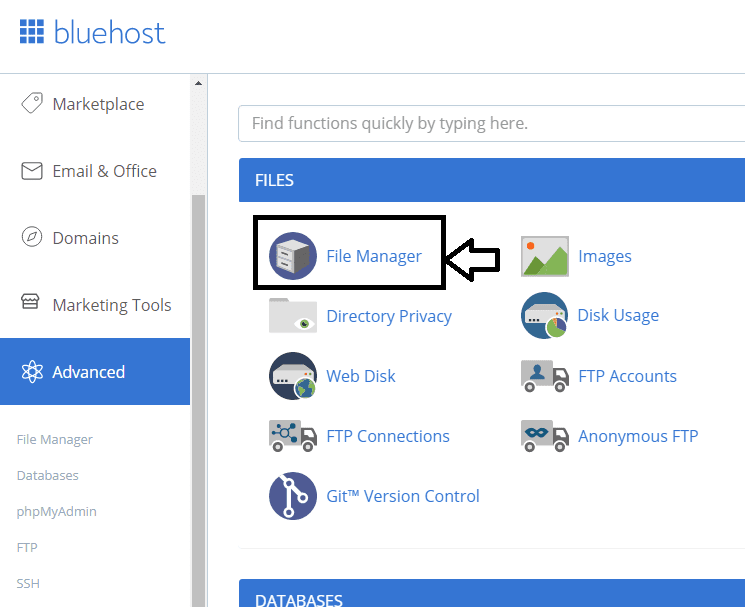
then upload the downloaded file in public_html
Step9) next step is to get an API key for that to go to push engage account dashboard>settings>site settings>api key> click on generate API key & just copy the API key & paste it in WordPress PushEngage plugin as shown below.
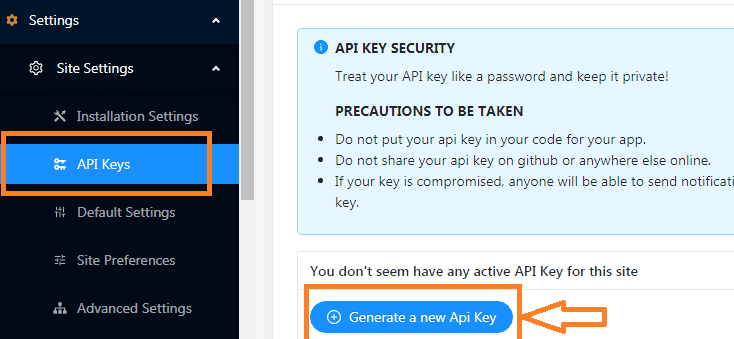
Step10) now go to WordPress & just paste the API key & click on submit
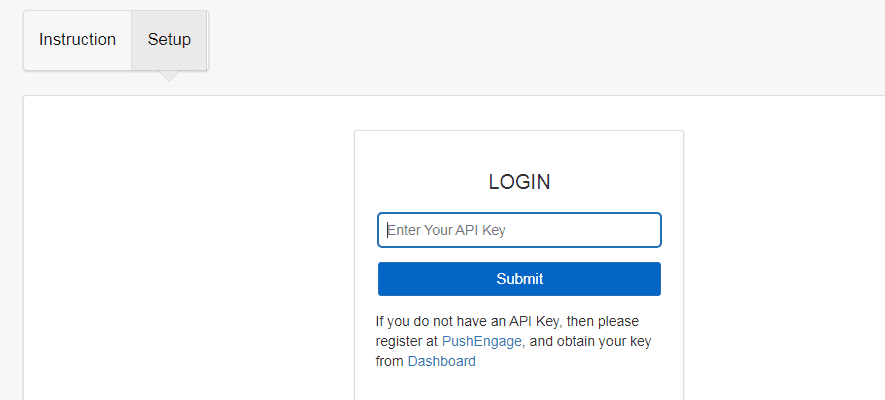
after clicking on submit you can now do some settings as shown below.
general settings :
in this, the API key will automatically get fetch & if the site name & URL are not fetched automatically then you need to enter it & just click on save site settings.
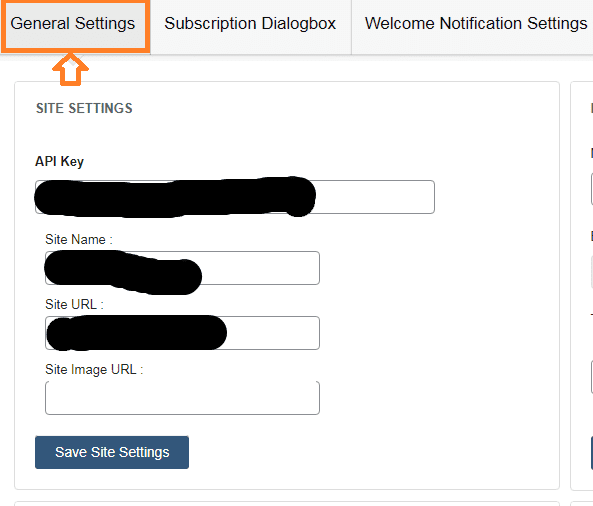
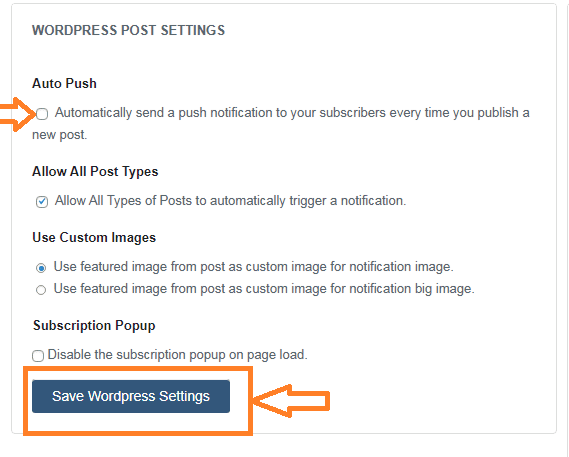
in the general setting, you will also find an option when you scroll down, that is auto push & if you will check the box then whenever you will publish a blog post the push notification will be automatically sent to your subscribers.
if you will uncheck the box then the push notification will not send automatically when you publish your new blog post.
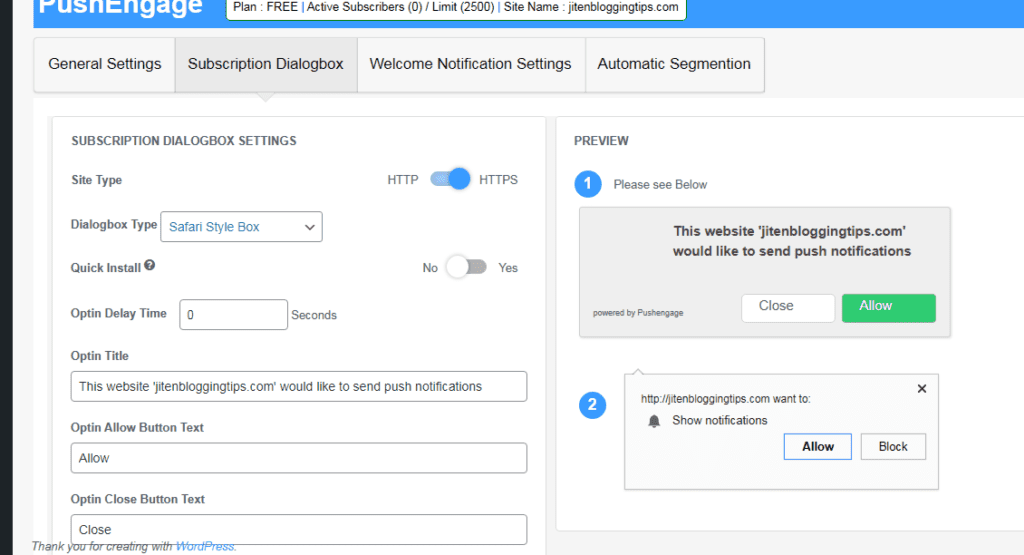
Then head over to subscription dialogbox as shown below
first option is site Type: Here there are two options HTTP & HTTPS. if your site has HTTP version then disable the HTTPS option & if your site is on HTTPS then let it enables as shown below.
Dialogbox type: you can select various styles according to your requirement under this option & can see the preview of it on the right side.
Quick install: if you haven’t downloaded the package file & don’t have uploaded it in your site root folder then you need to enable this option & if you have uploaded the file in the root folder of your site then let it disables as shown below.
you can change the other options like optin title, optin allow button text,optin close button text as per your requirement
remember that don’t forget to click on update.
welcome notification settings: you can set a welcome message that will appear after people click on allow notification under this option & after doing all these settings don’t forget to click on update
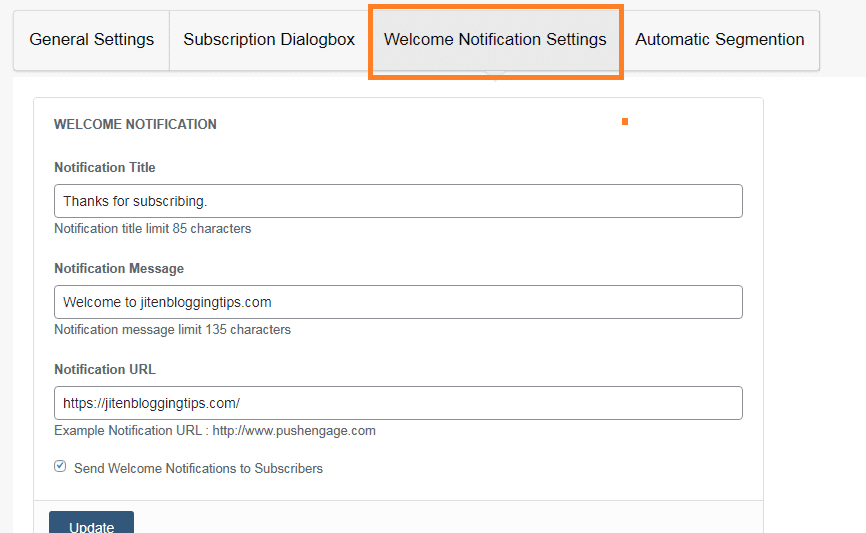
Now we have successfully set up push notification on blog & it’s time to check whether the push notification is work or not on your site or blog. for that just go to your site & check it.
How to send a first push notification to your subscribers.
You can create your first push notification from the PushEngage account dashboard for that just follow the below-given steps.
Go to PushEngage account dashboard>Go to notifications>click on create>new notification.
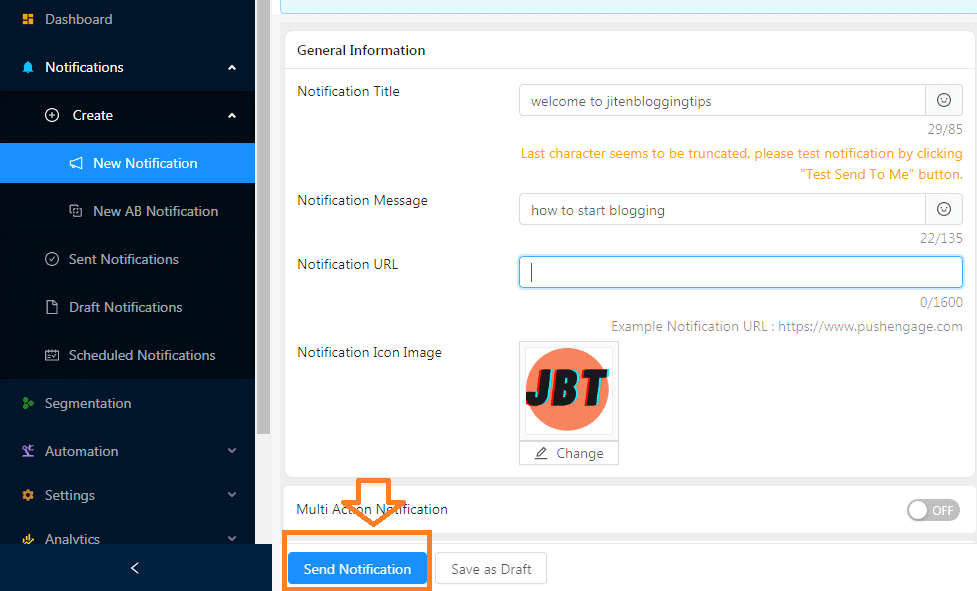
from here you can create your first push notification by entering the title, notification message, notification URL & you can also select an image.
after adding all details you need to just click on send notification & the push notification will be sent to your subscribers. this way you can manually send push notifications to your subscribers.
Along with these are lots of features available even in the free plan of push engage which you can use.
Drawback of using push notification
The drawback of using push notifications is that it can become more irritating for your subscriber if you send push notifications many times or daily. Even you can lose your website visitors so you need to maintain a balance of sending push notifications to your subscribers.
Other good push notification plugins for WordPress.
To add push notification to your blog there are lots of other plugins which you can use & some of the good plugins are shown below.
Pushcrew: this notification service also provides a free plan for up to 2000 subscribers.
Onesignal: they also have a free plan which you can use and add push notifications on your WordPress blog.
gravitec: this is also an amazing push notification service & it has a free plan which allows up to 30,000 subscribers.
Sendpluse: connecting this push notification service with your website is also a good option, as they have a free plan which allows up to 10,000 subscribers.
So friends I hope from this post you have to got to learn how to add push notification to your WordPress site. if you found this blog post helpful then show some love by sharing it with others.
If you are also looking for how to do email marketing then you can read my detailed article on how to add email subscription to WordPress blog
